

Updated November 2026
| Starlink Model | Description | Price (2026) | |
Transferring Starlink hardware on a vessel at the Time of Sale
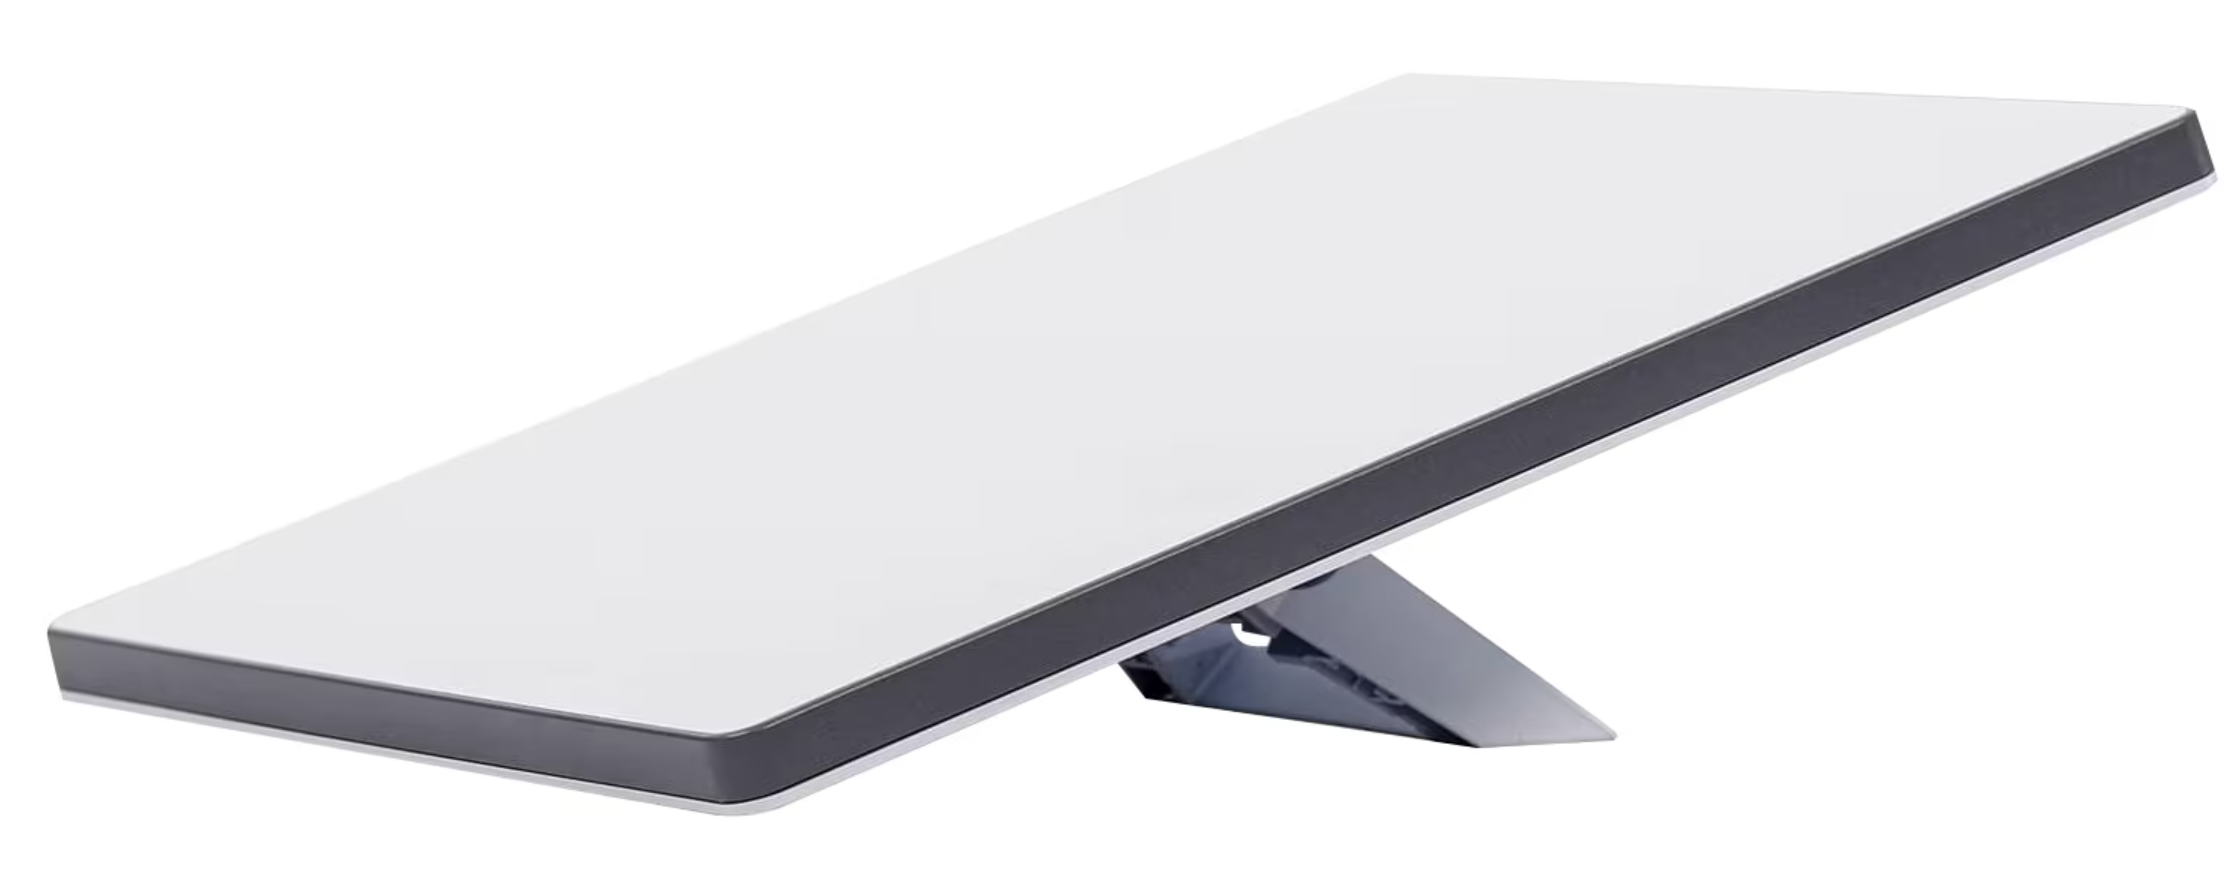
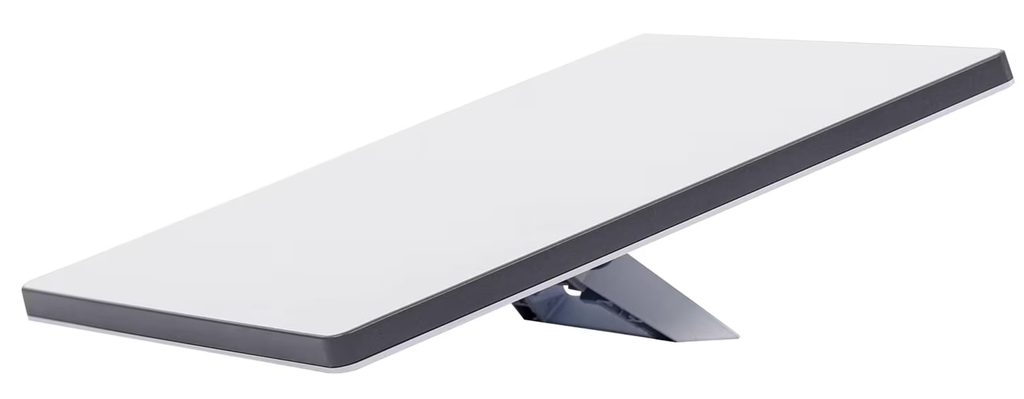
Transferring Starlink hardware on a vessel requires releasing the dish from your existing Starlink account so the new vessel owner can activate it under their own name. You do not transfer your personal account login or payment methods.
Before initiating the transfer, verify these prerequisites:
- Account Standing: The account must have a $0 balance. Any outstanding bills will block the transfer.
- Ownership Hold Period: Hardware cannot be transferred within 120 days of purchase or 90 days of initial service activation.
- Hardware Type: Rental units cannot be transferred without first completing a hardware buyout through Starlink.
- Record Your Starlink Identifier: Do this before releasing the kit.
Log in to your account at starlink.com and go to Your Starlink / Manage. Copy down your Starlink Identifier (this is either the Terminal ID, Dish Serial Number, or Kit Number).
Verification: Ensure you have saved the ID in your records; it disappears from your dashboard once unlinked.
2. Cancel Current Subscription: Required before the transfer option unlocks.
Under your vessel’s active service line (Mobile Priority / Maritime / Roam), click Manage in the Service Plan section, then select Cancel Service. Confirm the cancellation.
Verification: Refresh the page to confirm the service line displays as canceled or scheduled to end.
3. Release the Hardware via ‘Transfer’: Service stops immediately upon transfer.
Under the Devices section of your dashboard, find the Starlink dish mounted on your vessel and click Transfer. Accept the terms and conditions. You can optionally enter the new buyer’s email address to send them a direct activation link, or click Close to finalize.
Verification: The device will disappear completely from your account dashboard, confirming it is unlocked.
4. Factory Reset the Onboard Router:
If the vessel includes a Starlink Wi-Fi router, power it on and reset it so your network credentials and vessel network settings are cleared:
- Gen 2 / Standard Actuated: Power-cycle the unit by unplugging and plugging the AC cable 6 times in succession.
- Gen 3 / Flat High Performance / Mini: Press and hold the physical reset pinhole button on the back/bottom for 5 seconds until the LED flashes.
Verification: Check for the default setup Wi-Fi network (e.g., STARLINK or STINKY) on your phone or tablet.
5. Hand Over Identifier to the Buyer:
Provide the buyer with the Starlink Identifier you recorded in Step 1.
The buyer completes the process by going to [starlink.com/activate](https://starlink.com/activate), entering the Device Identifier, selecting their desired maritime/boat plan (such as Mobile Priority or Roam), and entering their own payment details..
Starlink on a Vessel Q & A
Question:
Answer: