

Please identify the parts that you need from the drawings below.
The Murray Yacht Sales Team has been an award-winning Beneteau dealer for over 30 years. We know the Beneteau models well and are happy to assist you or direct you to the solution.
In 2022, Beneteau increased the number of spare parts stocked in the United States and ready for immediate delivery.
Battery Switches
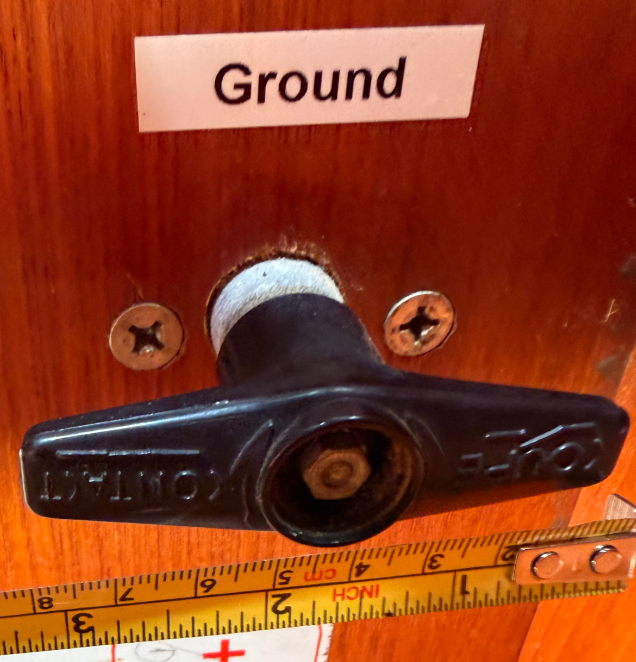
Part #264610 (above)
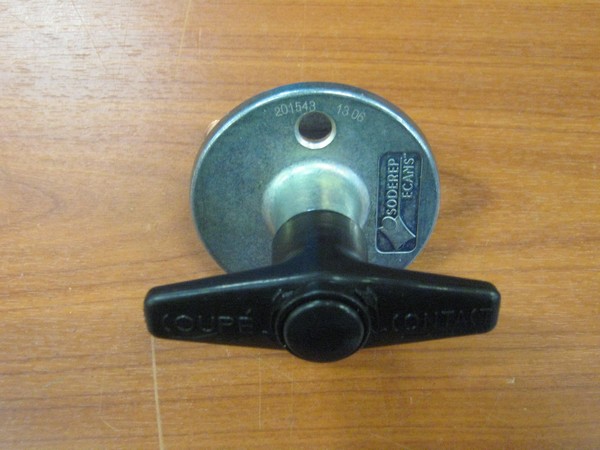
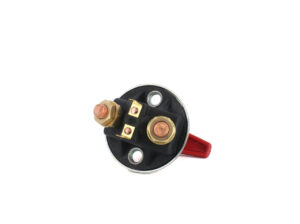
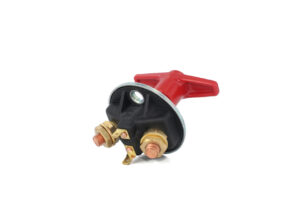
Part #953582 (above Black) Part # #953583 (above Red)
| Description | Qty per vessel | Beneteau Part Number | Price (shipping not included) Price subject to change |
| SWITCH BATTERY Black Handle NM | 1 | N/A | |
| SWITCH BATTERY Black Handle NM | 1 | 953582 | $37.00 |
| SWITCH BATTERY Red Handle NM | 2 | N/A | |
| SWITCH BATTERY Red Handle NM | 2 | 953583 | $37.00 |
Part #953582 is the direct OEM supersession (factory replacement) for part #264610 (commonly used across Groupe Bénéteau and related marine electrical panels).
Brand: Soderep Ecans / Series S020 / S20 SERIES SINGLE-POLE BATTERY DISCONNECT SWITCH 150A 48V MAX; Metal material – Fixed handle, 2 ON/OFF positions – Angled M10 terminals – Similar designations: battery circuit breaker, battery disconnect switch, battery tap, battery isolator, main battery switch, battery relay. Manual control – Positive or negative cut-off – Auxiliary circuit – Fixed handle
Key Fitment & Installation Details
-
- Drop-in Panel Cutout: Both parts share the exact same mounting diameter, body dimensions, and panel depth. The new switch will fit right into the existing panel cutout without drilling or filing.
- Flange & Screw Pattern: The mounting faceplate and screw hole pattern match the original configuration, so it reuses your current panel hardware.
- Terminal Studs: The rear terminal studs (Line/Load) match the spacing and thread sizing of the legacy #264610 switch, meaning your existing heavy-gauge cable ring lugs will transfer directly over without needing to be re-crimped.
Quick Installation Checklist
-
- Isolate Power: Always disconnect the main negative battery cable before touching the switch terminals to prevent short circuits.
- Transfer Connections: Swap the cables over to the same terminals (Line to Line, Load to Load) on the new unit.
- Hand-Tighten Securely: Snug down the terminal nuts firmly with hand tools, taking care not to over-torque and twist the studs inside the housing.
- Apply Dielectric Protection: Apply a light coat of dielectric grease or protective terminal spray to guard against corrosion in marine/outdoor environments.
I am text block. Click edit button to change this text. Lorem ipsum dolor sit amet, consectetur adipiscing elit. Ut elit tellus, luctus nec ullamcorper mattis, pulvinar dapibus leo.