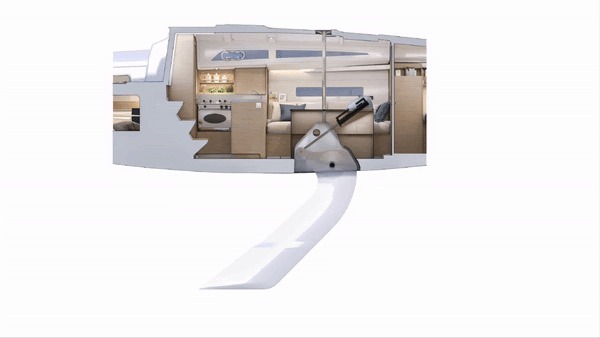
The lifting keel has also been referred to as the keel centerboard. Perform maintenance when the vessel is out of the water. Carefully clean the inner sides of the keel’s housing, and remove any seaweed and barnacles. Check the threaded bronze bolt (mark 3). Systematically grease the threaded rod on its full height with marine grease (mark 4), Motul LC 300 type or similar, and check the condition of the nylon bush (mark 7). After checks are finished, work the mechanism up and down 2 or 3 times to make sure it is functioning well.
The bronze nut is a wearing part that should be checked annually and replaced if necessary.
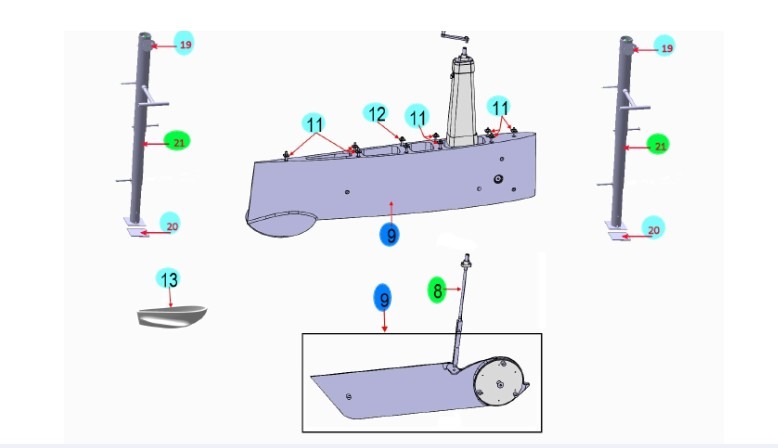
To perform this operation, follow the below-described methodology: – boat on cradle or held on straps – lifting keel in lower position
- Unscrew bolt (mark 1)to disconnect the mechanism from the lifting keel. Be careful not to lose the nylon bush (mark 7).
- In the cabin, unscrew the two screws that hold the nylon bracket (mark 2) in position on top of the keel housing.
- Pull out the all mechanism.
- Unscrew the brass nut (mark 3), which was originally screwed with thread glue. Warm up the part if necessary.
- Take the threaded rod (mark 4) out of the tube (mark 5).
- Unscrew bolt THM8 (mark 6) located at the end of the endless screw (mark 4).
- Unscrew entirely the endless screw to get the brass nut.
- Screw the new nut on the endless screw, and the bolt THM8 with some light thread glue.
- Put the endless screw back in the tube, with marine grease type Motul LC300 or similar.
- Screw back the brass nut on the tube with strong thread glue.
- Reinstall the mechanism doing the operation in the opposite order
Contact us for Beneteau Parts
The lifting keel (keel centerboard) option was offered on the
- Beneteau First 20
- First 25S
- Oceanis 30.1
- Oceanis 31
- Oceanis 31.1
- Oceanis 311
- Oceanis 323
- Oceanis 331
- Oceanis 343
- Oceanis 35
- Oceanis 35.1
- Oceanis 361
- Oceanis 38
- Oceanis 38.1
Beneteau also offers a swing keel, which can be found on the